
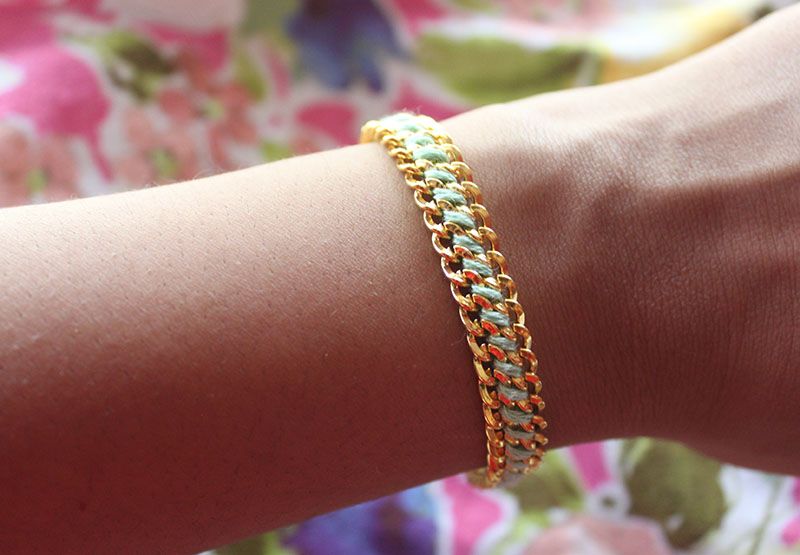
There are many variations of the woven chain bracelet. I had some left over chain and embroidery thread from previous projects, so I decided on a simple method to string two pieces of chain together. I used a hemming stitch to connect the chains, and added jump rings and a finding. I love the way it turned out! I plan to make more and maybe spray paint the chain in different colors!
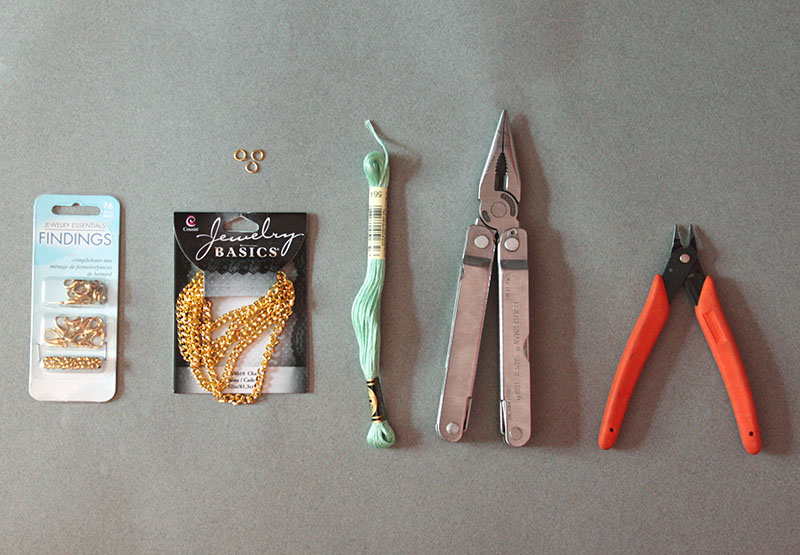
You’ll need:
- Finding
- Gold Chain
- Jump Rings
- Embroidery thread
- Pliers
- Wire Cutter
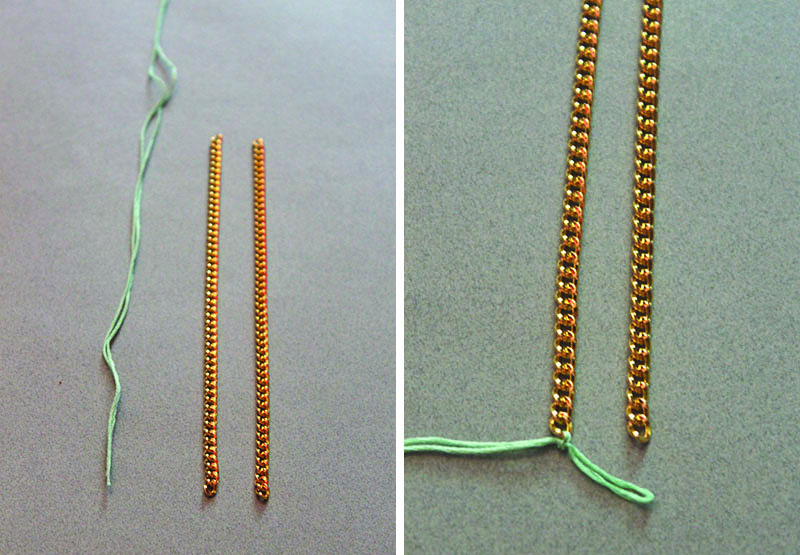 1.
Using your wrist as a guide, measure and cut your chain to the length
you want it. Mine came out to about 6 1/2 inches. Cut a 36 inch piece of
embroidery thread and fold in half. Attach the thread to one end of one
gold chain and tie a double knot.
1.
Using your wrist as a guide, measure and cut your chain to the length
you want it. Mine came out to about 6 1/2 inches. Cut a 36 inch piece of
embroidery thread and fold in half. Attach the thread to one end of one
gold chain and tie a double knot.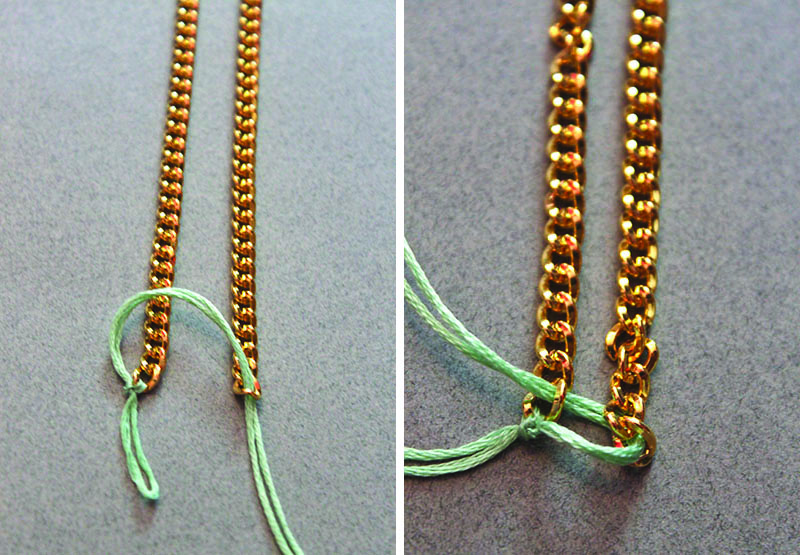 2.
Thread the embroidery through the first opening of the second chain.
Going underneath the first chain, thread the embroidery through the
first opening. (I ended up attaching a large needle to the end of the
thread to make the stitching easier.)
2.
Thread the embroidery through the first opening of the second chain.
Going underneath the first chain, thread the embroidery through the
first opening. (I ended up attaching a large needle to the end of the
thread to make the stitching easier.)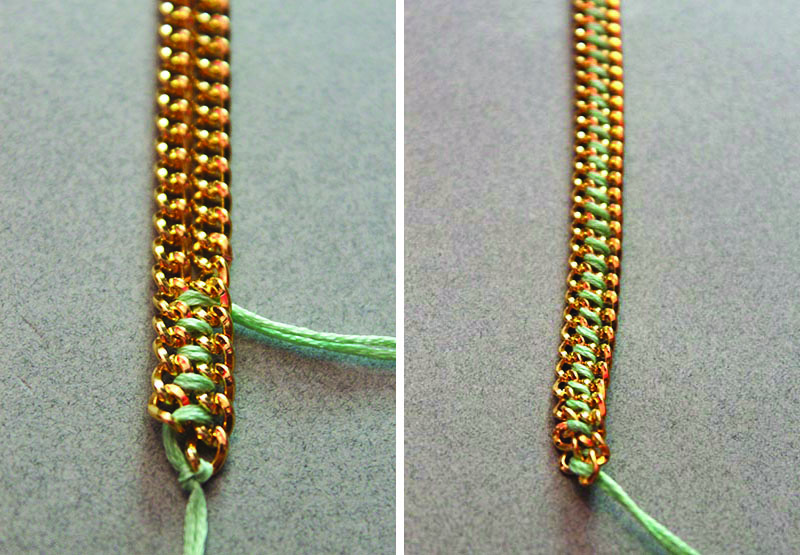 3.
Continue to “stitch” the chains together in the over-under pattern
until you reach the end of the two chains. Tie a knot on the end of the
chain. Cut off any extra thread.
3.
Continue to “stitch” the chains together in the over-under pattern
until you reach the end of the two chains. Tie a knot on the end of the
chain. Cut off any extra thread.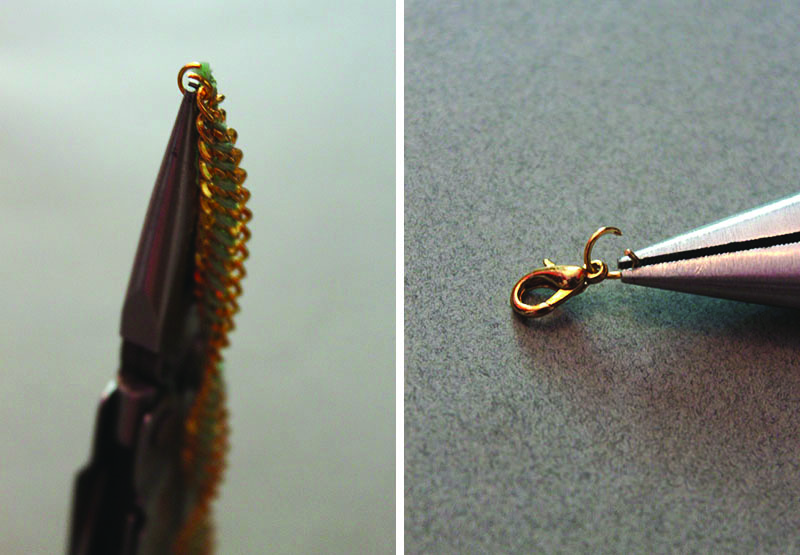 4. Attach jump rings to each end of the bracelet. On one of the jump rings, add a finding.
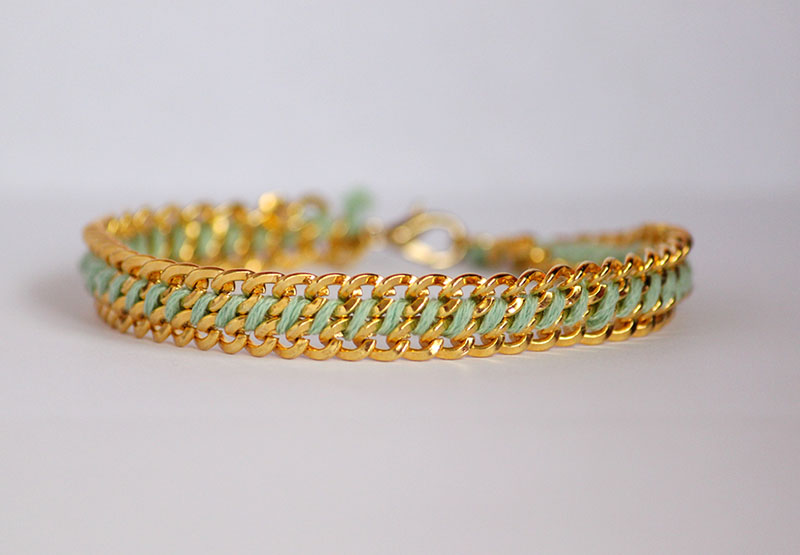 And you’re done! More bracelets to add to your jewelry collection!